WordPress Multisite Setup on Shared Hosting in Bangladesh
WordPress Multisite lets you run multiple websites from a single WordPress installation. Here's how to set it up on shared hosting in Bangladesh and what to watch out for.

On this page
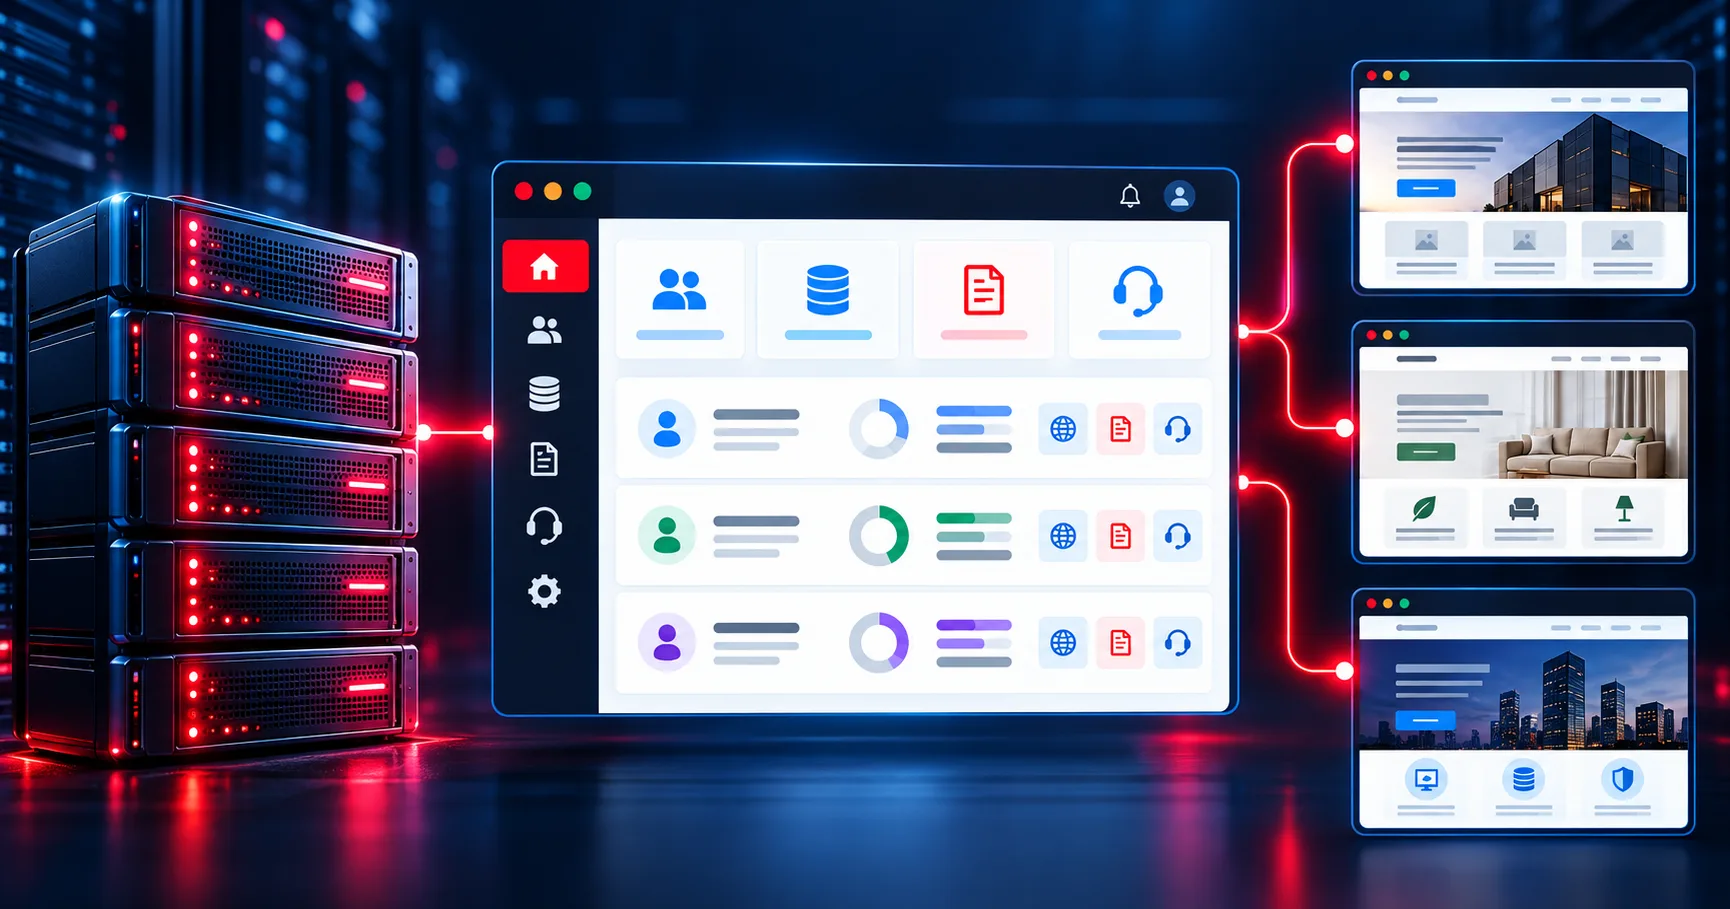
WordPress Multisite is a feature that lets you run a network of WordPress sites from a single installation. Instead of managing five separate WordPress installs — each with their own plugins, themes, and updates — Multisite gives you one dashboard that controls all of them. You can add a new site to the network in minutes, and plugin updates apply across all sites at once.
This is useful for a specific set of situations: agencies managing multiple client sites on one hosting account, businesses running regional microsites (Dhaka, Chittagong, Sylhet), educational institutions with department sites, or publishers running multiple blog properties.
WordPress Multisite can run on shared hosting — but shared hosting has limitations that matter for Multisite specifically. This guide covers the setup and the honest tradeoffs.
Is Multisite Right for Your Situation?#
Before diving into setup, consider whether Multisite actually fits your needs:
Good use cases for Multisite:
- A digital agency managing 5-15 small client sites with similar plugin/theme requirements
- A business with separate sites for different service lines or regions (e.g., snbdhost.com + snbdhost.com/blog + support.snbdhost.com)
- An educational institution with department sites that all use the same theme and base plugins
When to use separate WordPress installs instead:
- Sites with very different plugin requirements — some plugins don't play well with Multisite
- Client sites where clients need full admin access — Multisite's permission model is more complex
- Sites that need different PHP or WordPress versions
- If you're unsure — separate installs are simpler to manage and troubleshoot
Shared Hosting Limitations for Multisite#
On a VPS or dedicated server, Multisite with 20-50 sites is manageable. On shared hosting, there are practical limits:
- CPU and memory limits: Shared hosting plans have per-account resource limits. If each site in your network gets traffic simultaneously, you'll hit those limits faster than with a single site.
- Database size: All sites in a Multisite network share one database (with table prefixes per site). On large shared hosting plans this works fine; on entry-level plans, very large networks can cause issues.
- Plugin compatibility: Some popular plugins (certain backup plugins, some security plugins, WooCommerce in some configurations) have limited or buggy Multisite support.
For small networks (3-10 sites with moderate traffic), shared hosting from SNBD HOST is perfectly adequate. For networks with heavy traffic across many sites, a VPS or cloud plan is the better choice.
Step 1: Back Up Your Existing WordPress Site#
If you're converting an existing WordPress site to a Multisite network, back it up first. The conversion process modifies your database and wp-config.php, and while it's reversible, a backup gives you a clean fallback.
Use UpdraftPlus or the cPanel Backup Wizard to create a full backup. Download it to your local computer.
Step 2: Enable Multisite in wp-config.php#
Open your wp-config.php file (in your WordPress root directory, accessible via cPanel File Manager or FTP). Find the line that says:
/* That's all, stop editing! Happy publishing. */Above that line, add:
/* Multisite */
define( 'WP_ALLOW_MULTISITE', true );
Save the file.
Step 3: Run the Network Setup Wizard#
In your WordPress Dashboard, go to Tools → Network Setup. If you don't see this option, the change to wp-config.php hasn't taken effect yet — clear your browser cache and try again.
The wizard asks you to choose between:
Sub-domains vs Sub-directories#
- Sub-domains (site1.yourdomain.com, site2.yourdomain.com) — each site gets its own subdomain. Requires a wildcard DNS entry. Sites feel more distinct and separate. Recommended for agency use cases where each client needs their own domain feel.
- Sub-directories (yourdomain.com/site1, yourdomain.com/site2) — sites live in paths under the main domain. No wildcard DNS needed. Simpler setup. Good for internal networks where the main domain relationship makes sense.
If you'll use domain mapping (explained below) to give each site its own separate domain like clientsite.com, the choice between subdomains and subdirectories is less important — both work with domain mapping.
Enter your Network Title (e.g., "SNBD Networks") and admin email, then click Install.
Step 4: Update wp-config.php and .htaccess#
The wizard gives you two blocks of code to add to your files. Follow its instructions exactly — the code it provides is customized for your specific install.
In wp-config.php, add the network block above the "stop editing" line (it will look something like):
define( 'MULTISITE', true );
define( 'SUBDOMAIN_INSTALL', false );
define( 'DOMAIN_CURRENT_SITE', 'yourdomain.com' );
define( 'PATH_CURRENT_SITE', '/' );
define( 'SITE_ID_CURRENT_SITE', 1 );
define( 'BLOG_ID_CURRENT_SITE', 1 );
In .htaccess, replace the existing WordPress rewrite rules with the Multisite version the wizard provides.
Save both files. Log out and log back in to WordPress — you're now running a Multisite network.
Step 5: Configure Wildcard DNS (For Subdomain Networks)#
If you chose the subdomain structure, you need to add a wildcard DNS record so that any subdomain (site1.yourdomain.com, site2.yourdomain.com, etc.) resolves to your server.
In cPanel's Zone Editor (or DNS Zone Editor), add an A record:
- Name: * (asterisk)
- Type: A
- Value: Your server's IP address
This tells DNS to route any subdomain of your domain to your server. WordPress Multisite then maps the subdomain to the correct network site.
If you're using Cloudflare for DNS, add the wildcard A record there instead of in cPanel.
Step 6: Add Your First Network Site#
In WordPress Dashboard, you'll now see a My Sites menu at the top. Go to My Sites → Network Admin → Sites → Add New.
Fill in:
- Site Address: The subdomain or path for the new site
- Site Title: The name of the site
- Admin Email: The admin user for this site
Click Add Site. WordPress creates a new site in the network with its own database tables (prefixed differently) and its own content. Visit the new site's admin at yourdomain.com/site1/wp-admin or site1.yourdomain.com/wp-admin.
Domain Mapping: Give Each Site Its Own Domain#
Domain mapping lets a network site respond to a completely separate domain — so your network site at site1.yourdomain.com can appear at clientwebsite.com.bd. This is essential for agency setups where each client has their own domain.
WordPress has built-in domain mapping since version 4.5:
- Go to Network Admin → Sites and click Edit for the site you want to map
- Update the Site Address URL to the client's domain (e.g., https://clientdomain.com.bd)
- In cPanel for your hosting account, add the client's domain as an Addon Domain (under Domains → Addon Domains)
- At the client's domain registrar, update DNS A records to point to your server's IP
Once DNS propagates, the client's domain loads from your network site. Their visitors see clientdomain.com.bd — no indication it's running on a Multisite network.
Plugin and Theme Management#
In Multisite, there are two levels of plugin management:
- Network Activate: The super admin (that's you) activates a plugin at the network level, and it's automatically active on every site in the network. Use this for plugins that all sites need — security plugins, caching, SEO.
- Site Activate: Individual site admins can activate plugins from the available pool. As super admin, you control which plugins are available to site admins.
Themes work similarly. Network-activate a theme to make it available across the network; individual site admins choose their active theme from what's network-enabled.
Activate LiteSpeed Cache at the network level — it should apply to all sites simultaneously for consistent performance across your network.
Backup Strategy for Multisite#
Backing up a Multisite network is more complex than a single site because all sites share one database. UpdraftPlus Premium supports Multisite backup. Alternatively, use cPanel's backup tool to back up the entire account, which captures the shared database and all files.
Test your backup restore process before you rely on it — restoring a Multisite network from backup requires care to not overwrite one site's data with another's.
When to Upgrade from Shared Hosting#
Watch for these signs that your Multisite network has outgrown shared hosting:
- Frequent "500 Internal Server Error" pages during peak traffic
- PHP memory limit errors showing up in error logs
- Site load times degrading consistently above 3-4 seconds
- Backup processes timing out
If you hit these, SNBD HOST's VPS plans give you dedicated resources that scale with your network. Contact their support team to discuss migration options — moving a Multisite network to a VPS is more involved than moving a single site, but it's a well-understood process.
Written by
Technical Support Dept.
Technical Support Dept is the tech backbone of SNBDHost, sharing clear, practical guides on hosting, performance, and security to help users keep their websites fast, stable, and secure.